
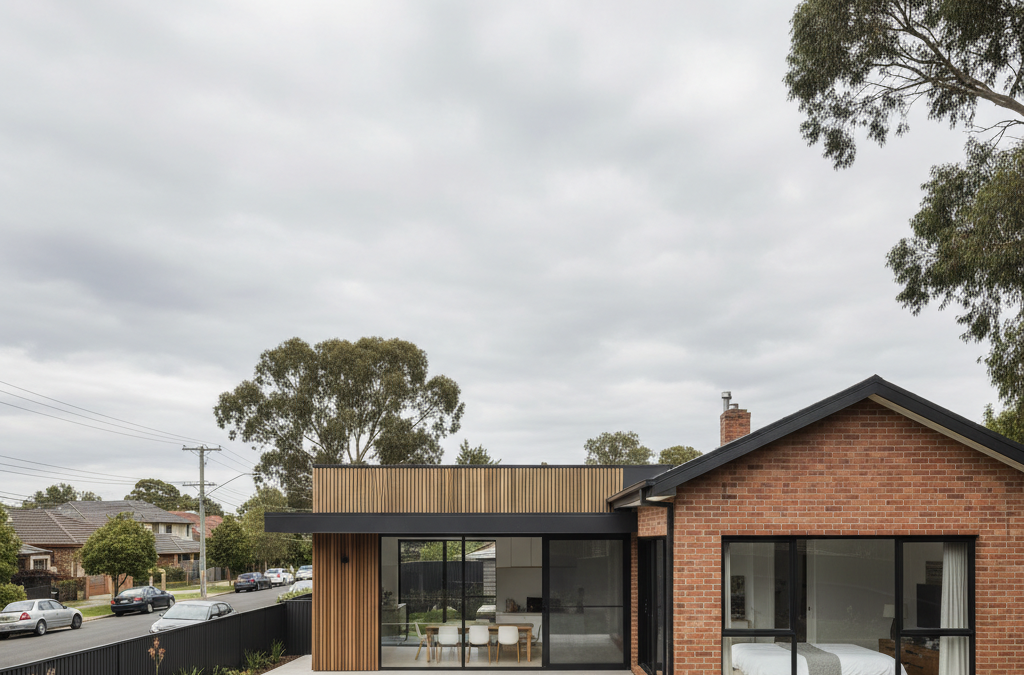
You’ve just received a set of floor plans from your draftsman. There are lines everywhere, strange symbols scattered across the page, numbers you don’t recognise, and abbreviations that might as well be another language. You nod along on the phone when your draftsman asks if everything looks good, but honestly? You’re not entirely sure what you’re agreeing to.
Quick answer: To read floor plans, homeowners need to understand the fundamental elements and symbols, as these documents are the single source of truth for any building or renovation project. This guide aims to demystify floor plans, providing a clear, jargon-free explanation so homeowners can confidently interpret what they are agreeing to and ensure their project aligns with their expectations.
If that sounds familiar, you’re not alone. In our years working with Melbourne homeowners, this is one of the most common points of frustration during a build or renovation. You’re investing serious money — often the biggest purchase decision outside of the property itself — and yet the document that describes exactly what you’re getting can feel completely unreadable.
This guide is here to fix that. No jargon, no assumed knowledge, no architectural degree required. Just a clear, honest explanation of what you’re actually looking at when a set of plans lands on your kitchen table. Whether you’re working with a new home design, a rear extension or renovation, or a townhouse development, the fundamentals are the same.
Why Understanding Your Plans Actually Matters
It’s tempting to treat floor plans as something you leave to the professionals. After all, that’s why you hired a draftsman in the first place. But here’s the thing — floor plans aren’t just technical paperwork that gets filed away with council. They are the single source of truth for your entire project.
Your builder prices from them. Every line item in your building quote traces back to what’s drawn on those plans. If a wall is shown as full-height tiling and you only discussed a splashback, you’ll be paying for full-height tiling. If a window is drawn as fixed glass but you wanted an awning window that opens, you’ll get fixed glass.
Your council assesses them. When you submit for a planning permit in Melbourne, the planning officer looks at your drawings — not your verbal description of the project. If the plans show something that doesn’t comply with the local planning scheme, it gets refused regardless of what you intended.
Your building surveyor checks compliance against them. The building permit process compares your plans to the National Construction Code and relevant Australian Standards. If the plans are wrong, the permit is issued based on wrong information, and you’ll discover the problem on site when it’s expensive to fix.
We’ve seen homeowners approve plans they didn’t fully understand, only to discover mid-construction that a bedroom was 400mm narrower than they expected, or that the living room window faced south instead of north and the room felt dark all winter. One client in Hawthorn East signed off on plans without checking the garage dimensions — the car literally didn’t fit when construction was finished. That was a $12,000 variation to fix.
A 20-minute conversation about the plans before signing off can prevent thousands in costly changes down the track.
The Basic Components of a Residential Floor Plan
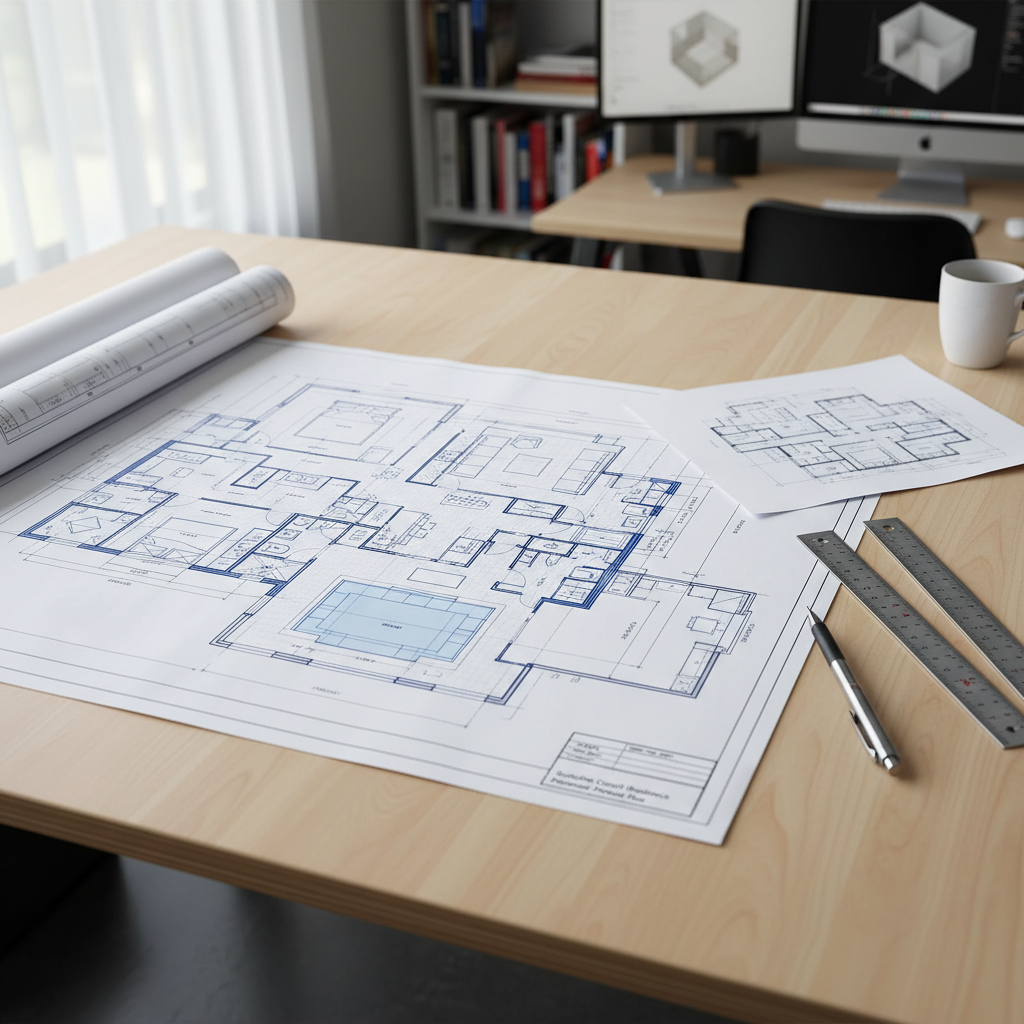
A standard residential floor plan shows a bird’s-eye view of your home, as if you’ve lifted the roof off and looked straight down. Whether it’s for a new home build or an extension to an existing house, the core elements are the same. Here’s what you’re seeing:
Walls and Openings
Walls appear as thick parallel lines. The thickness of the line tells you something — external walls are drawn thicker because they physically are thicker. A typical brick veneer external wall in Melbourne is around 250-280mm, while internal walls are usually 90mm timber stud framing with plasterboard on each side, giving a total of roughly 110mm.
Gaps in the walls indicate openings — either doors or windows. Doors are shown with an arc (a quarter circle) that indicates the direction the door swings. This matters more than you’d think. A door that swings into a hallway can block access to another room. A door that swings against a light switch means you’re fumbling in the dark every time you enter the room. Check the swing direction on every door and mentally picture yourself using it daily.
Sliding doors are shown as two overlapping rectangles. Bifold doors appear as a zigzag line. French doors show two arcs swinging in opposite directions.
Room Labels and Dimensions
Each room is labelled with its name — Bedroom 1, Kitchen, Living, Meals, etc. — and usually its floor area in square metres. Dimensions run along the outside edges of the plan, marked in millimetres. So “3600” means 3.6 metres, and “4200” means 4.2 metres.
Always cross-check these dimensions against what you discussed with your draftsman. Even small differences add up. A bedroom at 3.0m x 3.0m (9 sqm) feels noticeably different from one at 3.3m x 3.6m (about 12 sqm). If you told your draftsman you wanted a generous master bedroom and the plans show 3.0 x 3.2, raise it immediately — once the slab is poured, there’s no moving walls without starting over.
Pro tip: grab a tape measure and mark out the room dimensions in your existing home or backyard. Stand in that space. Does it feel like what you imagined? This takes five minutes and has saved our clients more grief than almost anything else we recommend.
Windows and Glazing
Windows appear as thin lines set within wall openings, sometimes drawn with three parallel lines to indicate glass. The plans should note window sizes using a code — for example, “1810” typically means 1800mm wide by 1000mm high, or “2110” means 2100mm wide by 1000mm high. Some draftsmen use a different notation system, so ask if you’re unsure.
Pay close attention to window placement relative to the north arrow on your plan. In Melbourne, north-facing windows bring in beautiful winter sun and passive warmth. South-facing windows get almost no direct sun. West-facing windows will bake your living room on a 38-degree February afternoon unless you’ve got good external shading. East-facing windows get gentle morning light, which is ideal for bedrooms.
If your draftsman hasn’t considered orientation in the window design, bring it up. It’s one of the cheapest ways to improve comfort and reduce your energy bills, and it costs nothing to get right at the planning stage.
Kitchen and Bathroom Fixtures
Kitchens and bathrooms include symbols for fixed elements: benchtops, sinks, cooktops, ovens, dishwashers, toilets, showers, baths, and vanities. These are drawn roughly to scale, so you can get a genuine sense of how much bench space you’ll have, whether there’s room to open the dishwasher without blocking the kitchen walkway, and whether the shower is a comfortable size or a phone-booth squeeze.
A common mistake we see: homeowners assume the kitchen layout can be easily changed later. In reality, the plumbing, electrical, and gas rough-in happens early in construction. Moving a sink 500mm to the left after the slab is poured means jackhammering concrete and re-routing pipes. Check the kitchen layout carefully now.
The North Point
Every floor plan should include a north arrow, usually drawn in a corner of the page. This tells you the orientation of the house on the block, and it’s one of the most important things on the entire plan.
North-facing living areas get the best winter sun in Melbourne. South-facing living areas can feel cold and dark from May through September. A well-oriented house with decent glazing can cut your heating bills by 30-40% compared to a poorly oriented one. Your draftsman should be designing with this in mind, and if your block makes north-facing living difficult (like a south-facing rear), there are design strategies to work around it — clerestory windows, courtyards, and light wells can all bring northern light deeper into the plan.
Common Abbreviations You’ll See on Melbourne Plans
Architectural drawings are littered with abbreviations. Here are the ones that trip up most homeowners:
- BV — Brick veneer. The most common wall construction in Melbourne’s suburbs: a timber or steel frame with a single skin of bricks on the outside.
- WIR — Walk-in robe
- WC — Water closet (toilet)
- ENS — Ensuite
- PTY or PTRY — Pantry
- LDY — Laundry
- FL — Floor level, the height of the finished floor relative to a benchmark point
- RL — Reduced level, a surveying term for height above Australian Height Datum (essentially sea level)
- FFL — Finished floor level
- NGL — Natural ground level (the existing ground before any excavation)
- CL — Ceiling level or centre line, depending on context
- DP — Downpipe
- RWH — Rainwater head
- SWD — Stormwater drain
- SS — Stainless steel
- conc. — Concrete
- RFL — Roof level
- EX. — Existing (used on renovation plans to distinguish existing structure from new work)
- NEW or PROP. — Proposed new work
- DEM. — To be demolished
If you encounter abbreviations you don’t recognise, just ask. A good draftsman won’t mind explaining. If they do mind, that tells you something about how the rest of the project communication will go.
Beyond the Floor Plan: Other Drawings in Your Set
A floor plan is just one drawing in a full documentation set. Whether you’re getting plans for a renovation, a new home, or even a multi-unit development, the drawing set will include several other types of drawings. Here’s what each one tells you:
Site Plan
The site plan shows your house footprint on the block of land, including setbacks from boundaries, the driveway location, existing and proposed trees, retaining walls, fences, and any easements or drainage assets. This is the first thing council looks at when assessing your application — they want to see that the building sits within the allowable building envelope and meets planning scheme setback and site coverage requirements.
Check that the driveway is shown in the right location, that any trees you want to keep are marked “to be retained,” and that the setback dimensions match what your draftsman discussed with you.
Elevations
Elevations are the drawings that show the outside face of the house — front, rear, left side, and right side. They indicate external materials (brick, render, timber cladding, metal cladding), window and door heights, roof pitch and form, fascia and gutter details, and overall building height.
This is where you confirm the house actually looks how you imagined it. If you asked for a “modern” look and the elevation shows a pitched roof with decorative gable ends, that’s a mismatch worth raising immediately. Changes to external appearance are simple at the drawing stage and extremely expensive once construction begins.
Sections
A cross-section slices through the house as if you’d cut it in half with a giant saw and looked at the exposed face. It reveals ceiling heights, floor construction (slab on ground, suspended timber, etc.), roof framing, insulation, and how the house sits on the ground. This drawing is especially important for sloping sites where the relationship between internal floor level and external ground level determines whether you need retaining walls, step-downs between rooms, or undercroft storage.
Construction Details
These are zoomed-in drawings showing how specific parts of the building come together: footing details, wall-to-roof junctions, window head and sill flashings, wet area waterproofing, balustrade fixings, and similar. Your builder relies on these to get the technical details right, and your building surveyor checks them against the National Construction Code.
You don’t need to understand every detail drawing, but it’s worth asking your draftsman to explain the footing type (strip, pad, or raft slab) and the wall construction (brick veneer, weatherboard, rendered foam, etc.) so you understand what your house is actually built from.
Redline Plans
If you’re making changes to an existing property, your draftsman may also prepare redline plans. These overlay the proposed new work on top of the existing floor plan, using red lines to clearly show what’s being added, removed, or modified. They’re particularly useful during renovation projects where you need to see at a glance how the new design relates to what’s already there.
Five Things to Check Before You Approve Your Plans
Before you sign off on your drawings, we always recommend homeowners work through this checklist:
- Room sizes match your expectations. Grab a tape measure and mark out key room dimensions on your existing floor or in the backyard. Stand in that space. 4.0m x 3.0m sounds reasonable for a bedroom until you place your bed, side tables, and wardrobe in it and realise there’s barely room to walk around the end of the bed.
- The flow makes practical sense. Mentally walk through the plan from the front door. Can you get from the garage to the kitchen without tracking through the living room? Is the laundry near the clothesline or backyard? Are the kids’ bedrooms near a bathroom? Is there a clear line of sight from the kitchen to the outdoor play area? Good plans feel intuitive. Bad plans make you walk in circles.
- North orientation works for your lifestyle. If your main living area faces south, it will be dark and cold through winter. That might be acceptable if you work full-time and only use the space at night, but if you’re home during the day or have young children, it’ll frustrate you for as long as you live there.
- Storage is adequate. This is the most common regret in new builds and renovations. Check that there’s a linen cupboard, a broom closet, and enough wardrobe space in every bedroom. Check that the garage fits your car plus bins, bikes, and tools. If the plans show zero storage, raise it now — it’s easy to add a cupboard at the drawing stage and nearly impossible once the frame is up.
- The plan matches your budget. Bigger plans cost more to build. If your draftsman has drawn a 280sqm home and your builder budget is $600,000, the numbers may not work. Ask your builder to do a rough cost check on the preliminary plans before you invest in full documentation.
How Our Drafting Process Works
At TJR Projects, we follow a clear step-by-step process that keeps you informed and involved at every stage. It starts with an initial consultation where we listen to what you want, assess your site constraints, and give you an honest steer on what’s possible within your budget and council requirements.
From there, we develop concept plans for your review — this is the stage where we encourage the most feedback, because changes are free on paper and expensive on site. Once you’re happy with the design direction, we prepare full documentation for permit applications and builder pricing.
Whether it’s a single-storey rear extension, a full new home design, or a multi-dwelling development, we walk every client through their drawings in plain English. We believe you should know exactly what you’re getting before anything goes to council.
What to Do If Something Doesn’t Look Right
Speak up early. Changing a line on a drawing takes your draftsman 20 minutes. Moving a wall on a construction site takes a builder two weeks and costs thousands. The drafting phase exists specifically for this — it’s your chance to refine, adjust, and get everything right before a single brick is laid.
Don’t be afraid to ask for a second revision, or a third. The plans need to be right, not just finished. Any draftsman worth working with will welcome your feedback rather than rushing you through to approval.
Got questions about your plans, or thinking about starting a project? Get in touch with our team — we’re always happy to have a no-obligation chat about what’s possible on your block.
Related guides from TJR Projects
- Understanding Floor Area Ratio and Site Coverage Limits
- How to Read an Elevation Drawing: A Homeowner’s Guide
- Red Line Plans vs Premises Plans vs Floor Plans: Understanding the Difference
- How Bushfire Attack Levels Affect Home Design in Melbourne’s Outer East
- Common Mistakes on Liquor Licence Plans That Cause VCGLR Delays